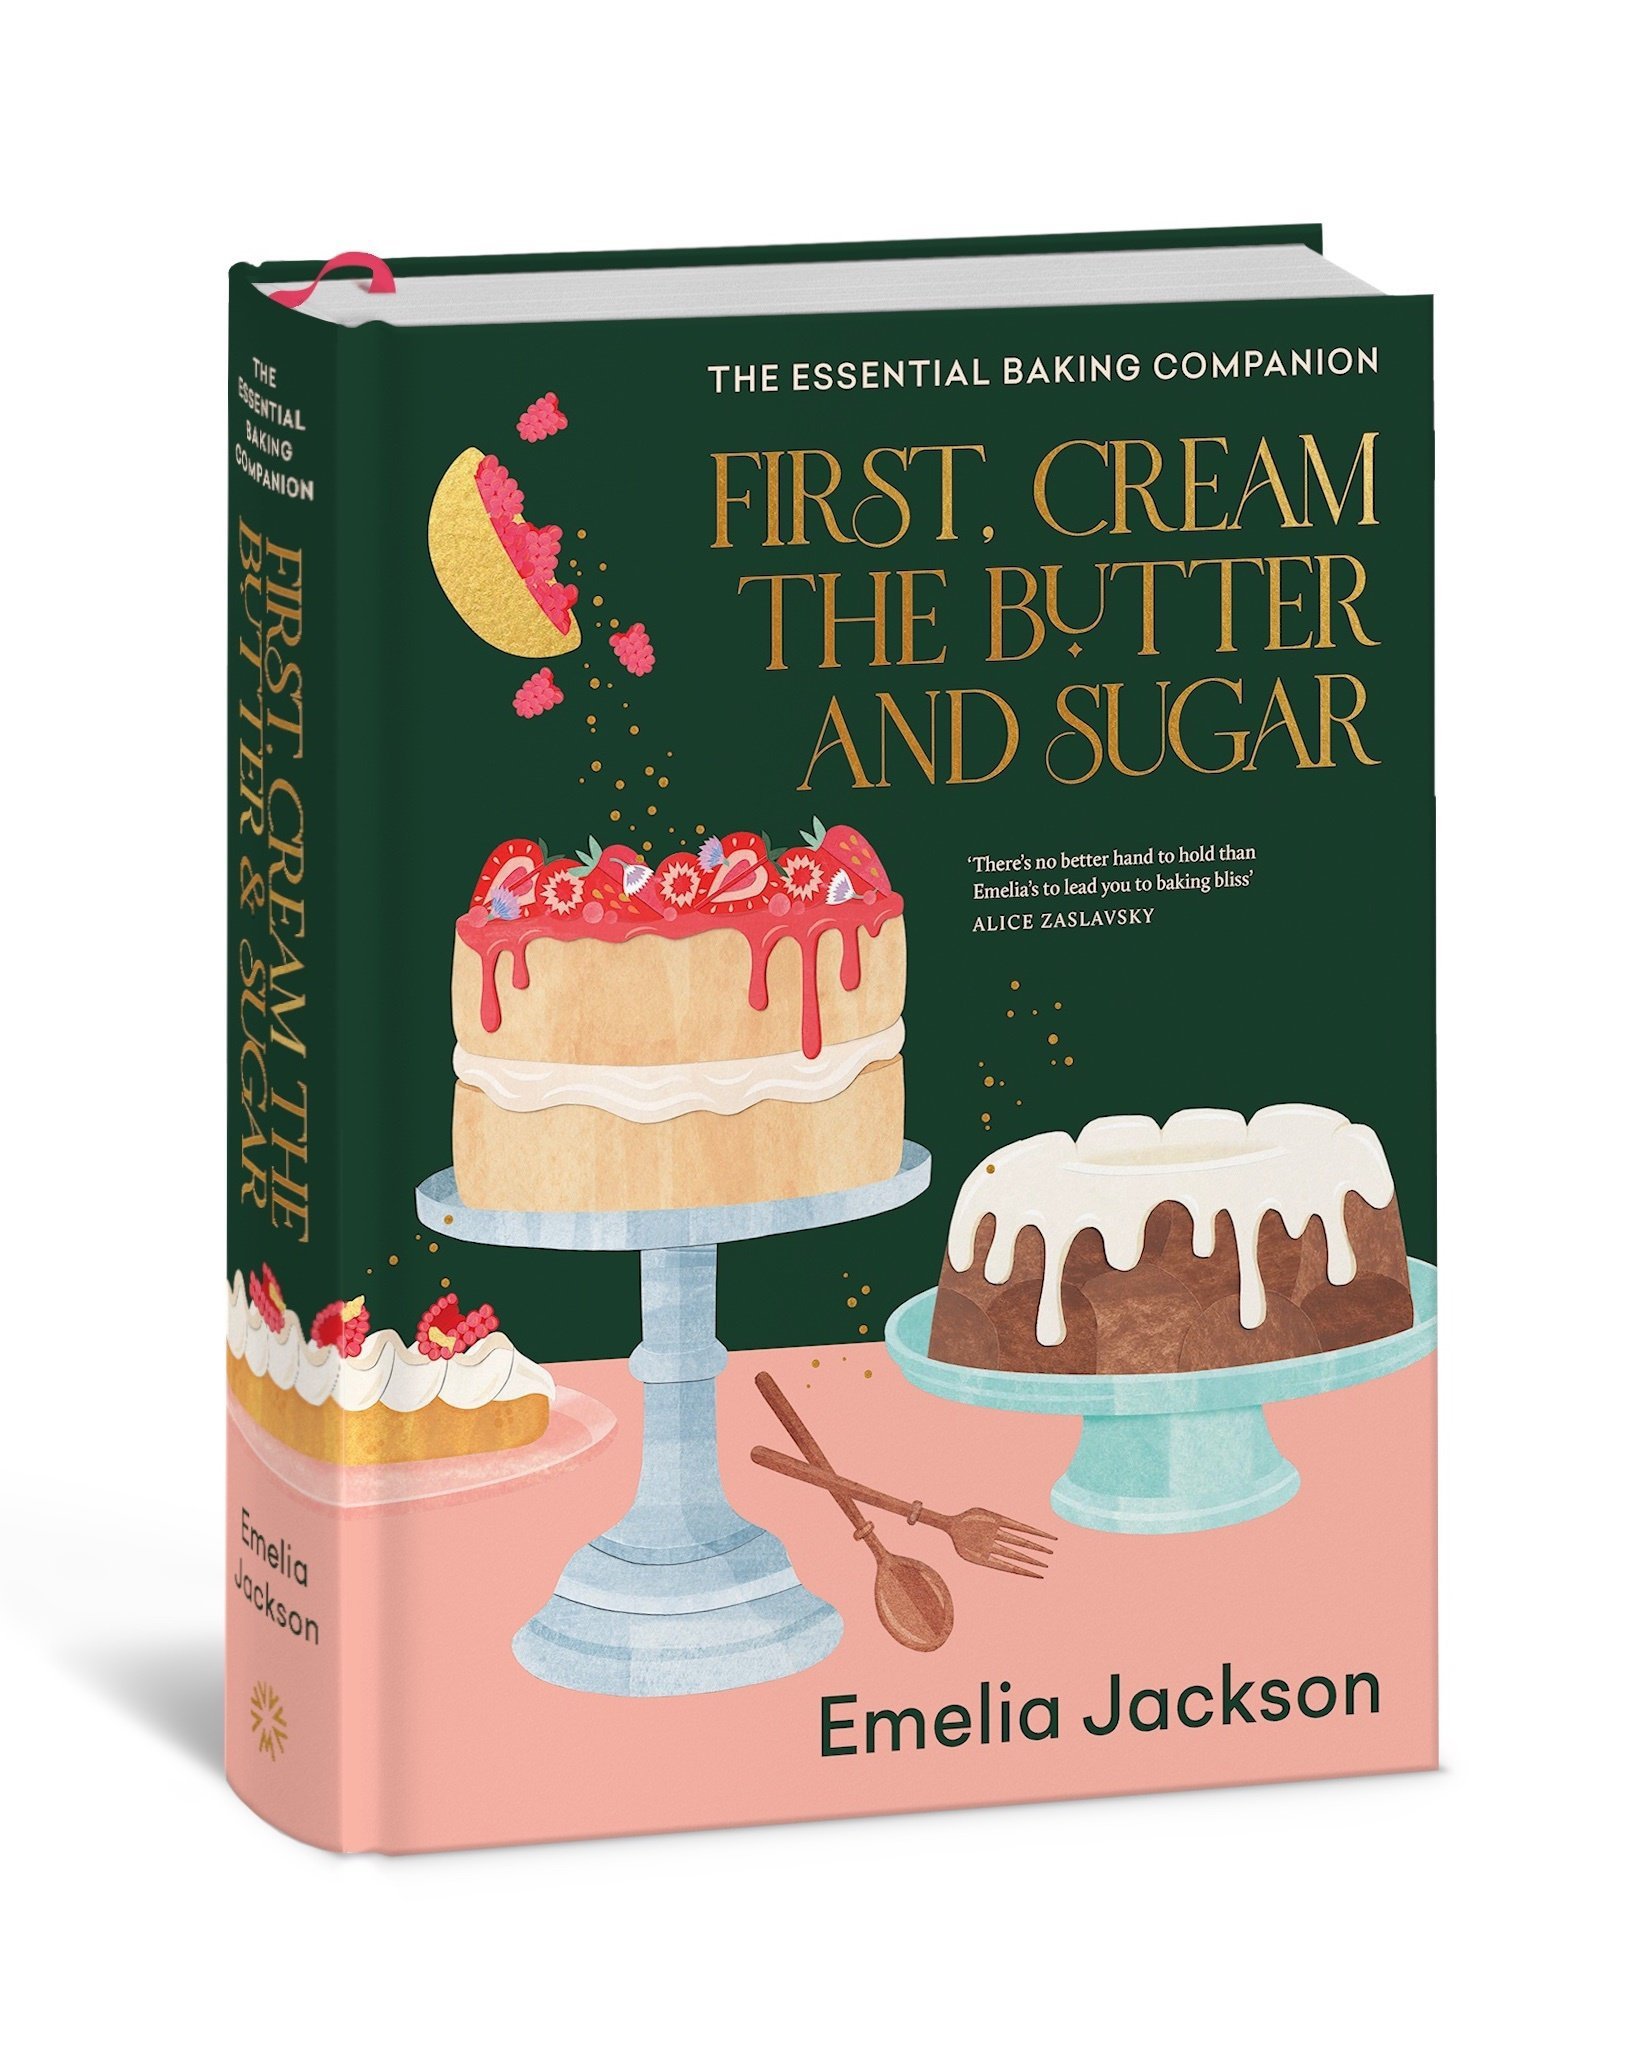
First, Cream the Butter and Sugar is described as the ultimate guide for everyone who loves cake, from chocolate chip cookies to opera cake to choux pastry.
Jackson has been a baker ever since she can remember. As a little girl she was always in the kitchen, beaters in one hand, cake tin in the other, mixing and making an enormous mess.
She has always been the one volunteering to bake the birthday cake or bring the dessert.
While she wanted to drop out of school to study to be a chef, her parents urged her to finish school and get a degree.
She graduated with a degree in psychology and management/marketing, and then headed off on her overseas adventure, searching for the best coffee shop, the best supermarket, the best cafe and the best bakery at each stop.
In New York, she had a pivotal moment while eating the best donuts of her life from Round Rock Donuts, which led her to enter season six of MasterChef Australia.
She finished in third place and later returned in 2020 for MasterChef Australia: Back to Win.
"I studied hard, practised constantly and learned a lot from some of the best professional chefs in the business, as well as the talented contestants cooking alongside me."
Her first time on MasterChef showed her all she wanted to do in life was make people happy through butter and sugar, which is why she launched Emelia Jackson Cake Designs.
"All of my cakes and desserts are thoughtfully designed, filled with love — and sometimes tears — and made using the finest ingredients."
Her advice is to be patient when baking, always read the recipe thoroughly and preheat the oven.
She shares her baking rules in her book, including to carefully weigh and measure your ingredients; allow things to chill; always scrape the bowl; take your time when creaming butter and sugar; and do not over-mix your batter.
"I am a lazyish baker, I skip steps where I can and I like to simplify methods to get the same end result."
A couple of her baking cheats include if you keep your eggs in the fridge, plunge them into a cup of warm tap water to take the chill off them; only sift the flour when making a sponge cake; and if you do not have time to rest your pastry, roll it out and freeze for five minutes.
"I like to lose the stress and take off the pressure when baking — it is after all my happy time and place."
There are also handy tips on ingredients and tools of the trade.
"I have a whole garage full of baking equipment, my obsession runs that deep."
The book is broken into chapters on cookies, cakes, tarts, choux, yeasty bakes and sauces, fillings and toppings.
THE BOOK
Images and text from First, Cream the Butter and Sugar by Emelia Jackson, photography by Armelle Habib. Murdoch Books, RRP $69.99.

Double-chocolate eclairs
You’ll find these classic eclairs in every patisserie in France. I’ve gone with double chocolate, but you can also do a classic creme patissiere filling with the whipped ganache if this is too rich for you. I tend to not use a craquelin for my eclairs but you absolutely can. Craquelin adds a delicious crunch and sweetness, but it isn’t necessarily needed here.
Makes 20
Ingredients
1 batch choux pastry, baked into 10cm eclairs (see right)
Dark chocolate cream
190ml thickened (whipping) cream
160ml full-cream milk
140g egg yolks
75g caster (superfine) sugar
200g good-quality dark chocolate, chopped
75g unsalted butter, cubed
Dark chocolate whipped ganache
1 large gelatine leaf
600ml thickened (whipping) cream
1 tsp vanilla bean paste
Pinch of salt
200g dark chocolate (minimum 54%), chopped
Method
For the chocolate cream, combine the cream and milk in a saucepan and bring to the boil over medium heat. Meanwhile, whisk the egg yolks in a bowl with the sugar. Pour in the hot cream mixture, whisking constantly.
Return the mixture to the pan and stir over medium–low heat until it reaches 75degC on a sugar thermometer. Remove the custard from the heat, add the chocolate and whisk until melted and combined (or even better, use a stick blender). Finally, add the butter and whisk or blend to emulsify. Cover the surface of the chocolate cream with plastic wrap to prevent a skin forming. Place it in the fridge to set overnight for best results (you can cheat here and pop the chocolate cream into the freezer for 1-2 hours).
For the whipped ganache, add the gelatine to a small bowl of iced water and set aside for five minutes to bloom. Once softened, squeeze out any excess water and set aside.
Meanwhile, combine the cream, vanilla and salt in a small saucepan.
Bring to a simmer, then remove from the heat. Add the gelatine and stir until completely melted. Put the chocolate in a bowl and pour in the hot cream. Once the chocolate has melted, whisk until well combined. Refrigerate overnight or until completely chilled.
Using an electric mixer fitted with the whisk attachment, whisk the chilled ganache until stiff peaks form. Be careful not to over-whisk it because the ganache can split quite easily (especially if you use chocolate with a high percentage of cocoa solids). If the ganache does split, you will need to melt it again and then let it chill before whisking. Transfer the whipped ganache to a piping bag fitted with a star nozzle and refrigerate until needed.
Transfer the chocolate cream to a piping bag fitted with a filling nozzle (such as the Loyal Bismarck Tube No.230). Poke a hole in each side of the eclairs on the base and pipe in the chocolate cream until the eclair feels full and heavy.
Pipe the whipped ganache along the top of the eclairs.
Eclairs
1. Line a baking tray with a perforated silicone baking mat for best results (you can also use an unperforated silicone baking mat or baking paper).
2. Fit a piping bag with a large open star nozzle (such as the Wilton #8B). The tip should be about 1.5-2cm wide, with lots of corrugations to allow the eclairs to expand evenly.
3. Fill the piping bag with the choux batter and pipe the eclairs about 10cm long, leaving ample space for them to spread and rise. Every bump in the pastry will show tenfold when baked, so make sure they are as straight as possible. If you make a mistake, scrape up the batter and start again.
4. To keep the pastry moist in the oven, allowing for more even rising, liberally dust the eclairs with icing (confectioners’) sugar.
5. Bake at 150degC , with the oven fan off, if possible, for 45-60 minutes or until a deep golden brown. Remove from the oven.
Gelatine
Whenever I use gelatine, I use leaf gelatine, also known as sheet gelatine (although if I’m making marshmallows, powdered gelatine gives the most reliable set).
Leaf gelatine comes in five different bloom strengths: titanium – 5g, bronze – 3.5g, silver – 2.5g, gold – 2g and platinum – 1.75g
To avoid any confusion, I have written my recipes using the number of gelatine leaves, not the gram weight. The weights of the different types vary to allow the same gelling power, so one leaf of each different type of gelatine will have the exact same gelling strength.
I use gold leaf gelatine in my recipes.To bloom gelatine, put the required number of leaves in iced water and allow them to soak for 3-5 minutes or until completely softened. (If the water is warm, the gelatine can begin dissolving, which will adversely affect the final set of the recipe.) Once the gelatine has softened, squeeze out any excess water before using as per the recipe’s directions.
Choux pastry
Makes about 20 eclairs
Ingredients
100g unsalted butter
1 tsp caster (superfine) sugar
1 tsp salt
140g plain (all-purpose) flour
265g whole eggs (weight without shells)
Method
Preheat oven to 150degC with fan off, if possible.
Line a large baking tray with baking paper.
Pour 225ml water into a saucepan, add the butter, sugar and salt and bring to a rapid boil.
Add the flour and cook this roux for 5-7 minutes or until a thick crust forms at the base of the pan (this ensures the flour is well hydrated, giving you the best and most consistent results).
Transfer the hot roux to the bowl of an electric mixer fitted with the paddle attachment. Mix on medium speed until all of the steam dissipates — this ensures any excess moisture that could weigh down the choux evaporates and you are left with the lightest pastry.
With the mixer running, add the eggs, a little at a time, and mix until the dough comes together to a silky, shiny batter. It should just fall off your scraper when you lift the batter out of the bowl — not too thick, not too thin.
Transfer the choux to a piping bag fitted with the appropriate nozzle and pipe it into shape on the baking tray.
Bake for 45-60min until a deep golden brown; remove from oven and cool.
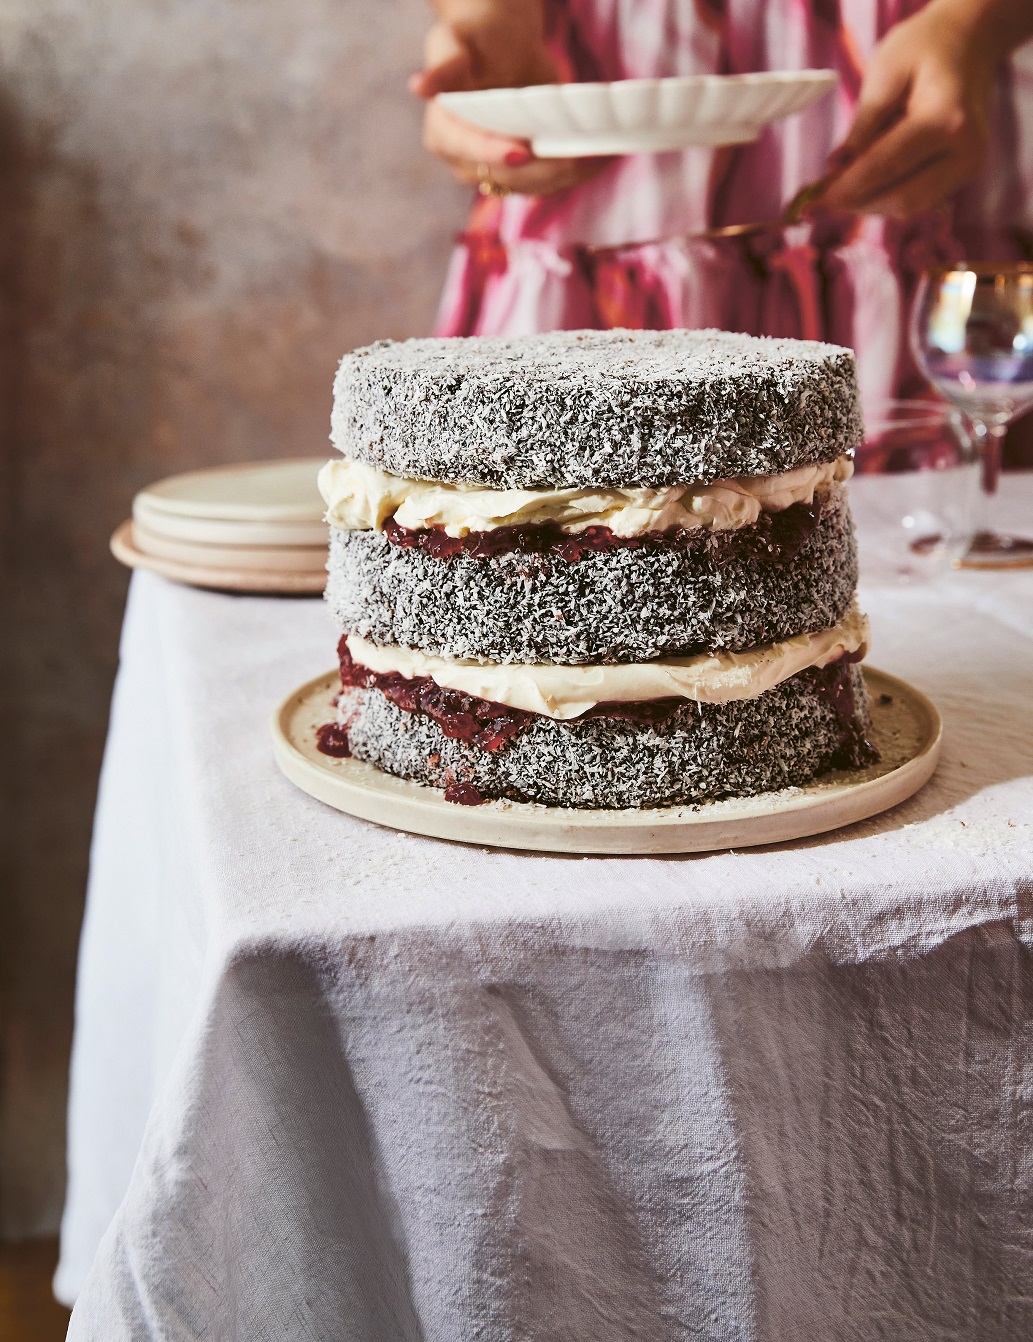
Layered lamington cake
The lamington … a great Australian classic! They’re fiddly little things to make individually, so I’ve taken away that pain by turning these iconic cakes into a show-stopping masterpiece. You can absolutely bake the cake in a sheet tin and cut it into standard lamingtons if you prefer.
Makes 18cm three-layer cake
Ingredients
My go-to vanilla cake, (see below) baked into three 18cm rounds for 35-40 minutes
400g desiccated coconut
200g raspberry jam (or any jam you love)
Cocoa glaze
1kg icing (confectioners’) sugar
75g dark cocoa powder
300ml boiling water
60g unsalted butter, melted
Cream filling
600ml chilled thickened (whipping) cream
200ml chilled thick (double) cream
Ingredients
Level the cakes. Wrap each cake in plastic wrap and place in the freezer for 30 minutes or so while you prepare the cocoa glaze — this will make the dipping process a lot easier!
To make the glaze, whisk the icing sugar, cocoa, boiling water and melted butter in a large bowl until smooth. Pour the mixture into a deep roasting tin that’s wide enough to fit the cakes.
Spread the coconut on a baking tray.
Take one cake layer and fully submerge in the glaze before dipping it into the coconut and gently turning until it’s completely coated. Set aside on a wire rack and repeat with the remaining cake layers. Set the cakes aside for 30–60 minutes to make sure the glaze has set.
For the cream filling, use an electric mixer fitted with the whisk attachment to whisk the two creams together until stiff peaks form (the thick cream will add extra fat and stability).
Place the first layer of cake on a serving plate, add a good swirl of jam (2-3 tablespoons) and top it with half of the cream.
Repeat the layering, finishing with the final cake layer.
My go-to vanilla cake
Ingredients
250g cake flour (below)
To make your own cake flour, measure out 430g plain (all-purpose) flour, then add 70g cornflour (cornstarch) or potato starch and sift together.
350g caster (superfine) sugar
1 tsp baking powder
½ tsp baking soda
1 tsp fine salt
225g unsalted butter, softened
4 eggs, separated
225g sour cream
1 Tbsp vanilla bean paste
¼ tsp cream of tartar
Method
Preheat the oven to 170degC.
Line three 18cm round cake tins with baking paper.
Using an electric mixer fitted with the paddle attachment, mix the flour, sugar, baking powder, bicarbonate of soda and salt for 10–20 seconds to evenly distribute the ingredients.
Add the butter and mix on low speed until the butter has dispersed through the flour and there are no large pieces of butter remaining.
Add the egg yolks, sour cream and vanilla and briefly mix to combine.
In a separate mixer bowl, whisk the egg whites and cream of tartar until stiff peaks form.
Fold a third of the egg white through the cake batter to lighten it before folding in the remaining egg white.
Split the batter among the cake tins and bake for 40-45 minutes or until a skewer inserted into the centre of each cake comes out clean.
Let the cakes to cool in their tins for10 minutes before turning them out on to a wire rack to cool completely.

Flourless chocolate souffle cake
There’s something beautiful about a flourless chocolate cake — rich and decadent, with a crisp, meringue-like cracked top, and yet so simple to make. This one is surprisingly light (think a hybrid of chocolate mousse, chocolate fondant and chocolate cake). The fact the cake rises up before collapsing back down and cracking means you can’t mess it up and the more cracked it is, the more character the cake has. I sometimes like to pile raspberries or macerated strawberries into the ditch left in the centre of the cake and dust it with a light coating of cocoa powder for extra bitterness. Serve the cake with vanilla chantilly cream (see below) or ice cream.
Makes 23cm cake
Gluten-free
Ingredients
200g unsalted butter, chopped
200g dark chocolate (70%), chopped
6 eggs, separated
150g light brown sugar
20g dark cocoa powder
½ tsp salt
1 tsp vanilla extract
50g caster (superfine) sugar
Preheat the oven to 160degC . Line a 23cm spring-form cake tin with bakingpaper.
Combine the butter and chocolate in a heatproof bowl set over a saucepan of simmering water to melt together until liquid and glossy. (You can also melt this in the microwave in 30-second intervals on medium.) Set aside to cool slightly.
Using an electric mixer fitted with the whisk attachment, whisk the egg yolks, brown sugar, cocoa, salt and vanilla until light, voluminous and aerated. Fold in the cooled chocolate mixture.
Wash and dry the whisk attachment and whisk the egg whites in a separate bowl until soft peaks form. Slowly rain in the caster sugar and continue whisking until a meringue has formed. The meringue should be of medium thickness — don’t overwhisk it or it will cause the batter to deflate.
Fold one-third of the meringue through the chocolate mixture, followed by the remaining meringue. Be careful not to over-mix and deflate the cake batter.
Pour the batter into the cake tin and bake the cake for 45 minutes.
It will rise up and appear glossy on the surface before deflating when it’s removed from the oven. This cracked look is all part of the cake.
Allow the cake to cool completely in the tin before trying to remove it.
I like to set it in the fridge for a good two-four hours once it’s cooled to allow that fudgy centre to set, ensuring you get beautiful clean slices.
Vanilla chantilly cream
This is an enriched chantilly – the thick cream has a higher percentage of fat than the thickened cream, which makes for a really thick and stable chantilly cream. Makes about 400ml.
150ml chilled thick (double) cream
150ml chilled thickened (whipping) cream
55g icing (confectioners’) sugar
1 tsp vanilla extract
Simply combine all of the ingredients in a bowl and whisk by hand until thickened. The cream can split quite easily due to the high fat content, so be careful not to over-whisk it.
Mix it up!
Add one of the following flavourings when you’re whisking the egg yolks:
- 1 shot espresso or 3 tsp instant coffee powder
- Grated zest of 1 orange
- 1/3 tsp peppermint extract.


