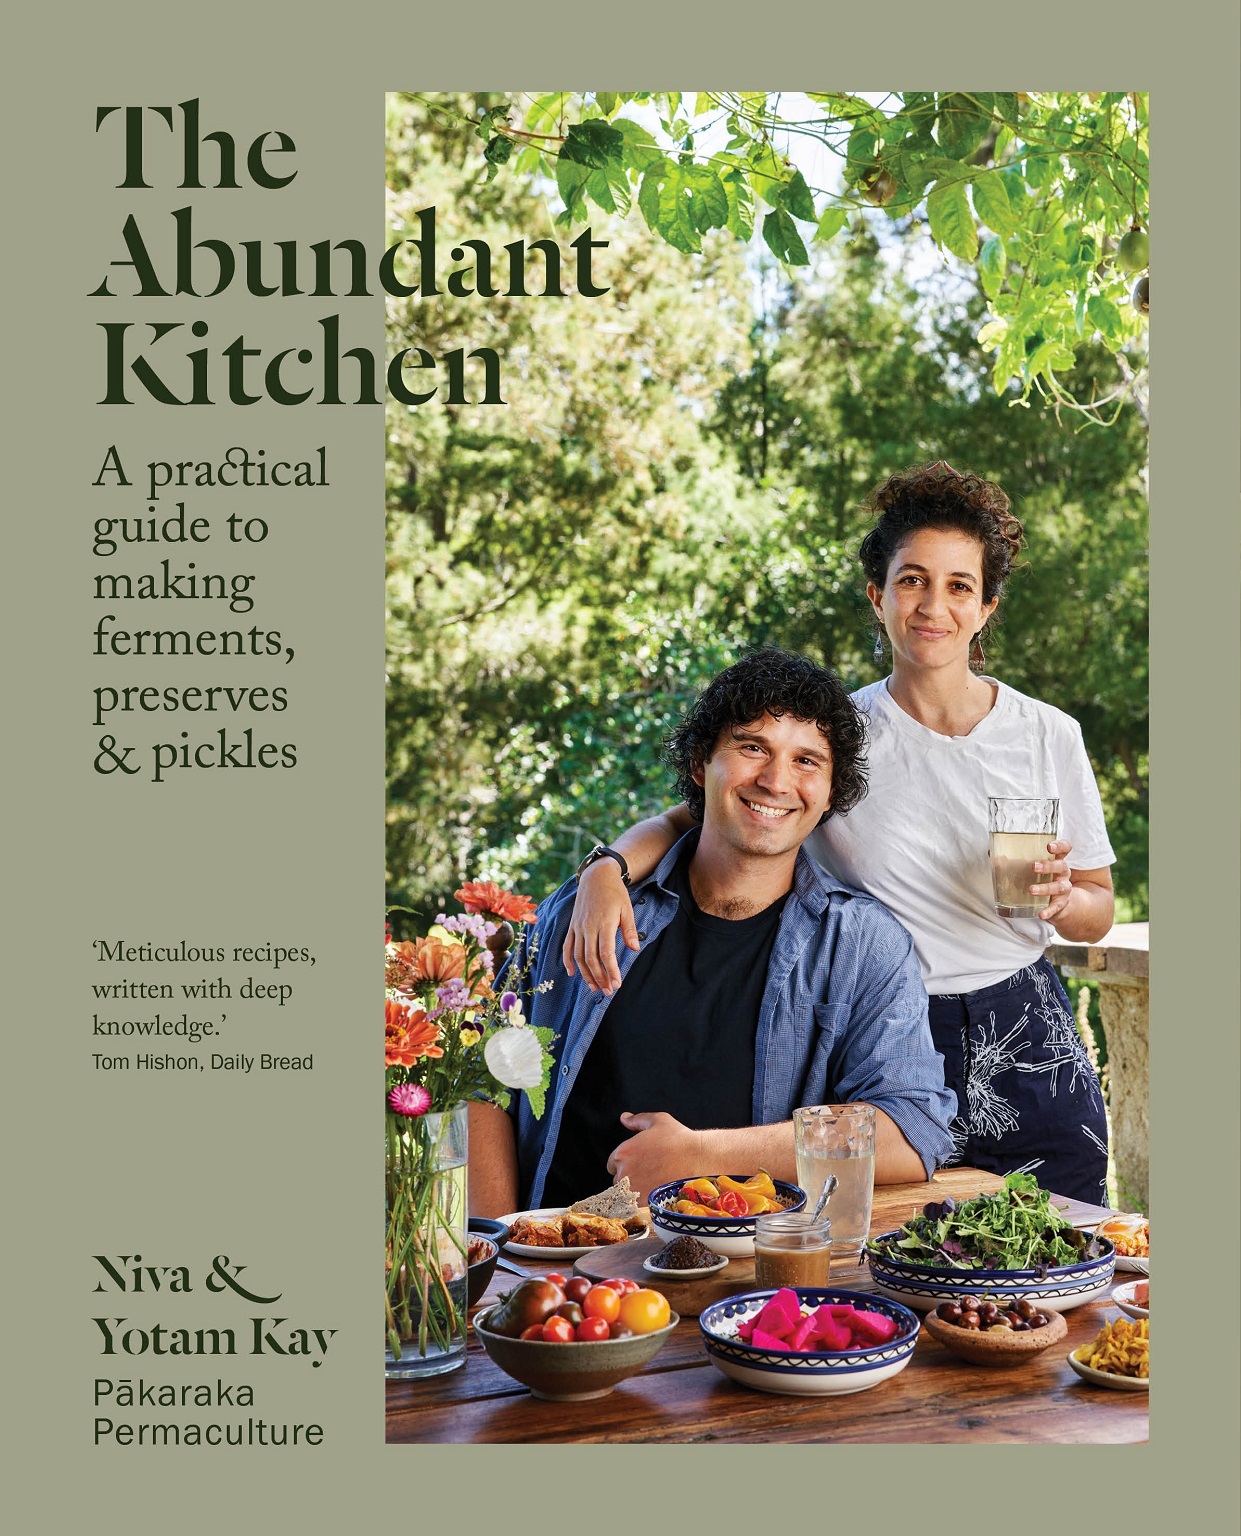
The bestselling authors of The Abundant Garden wanted to share the knowledge they have gained during the past 20 years doing exactly that — making stuff from their permaculture garden Pākaraka, on the Coromandel Penininsula.
The pair got hooked on fermenting at university when a SCOBY (a symbiotic culture of bacteria and yeast) was handed to them by a fellow student.
They bought a book and began to experiment in their tiny kitchen.
"For nearly two decades now, we have been fermenting, teaching and sharing cultures; in all this time we have never stopped learning and experimenting."
As a result, they now have their own trove of recipes, some that are staples in their home and others that are whipped up for special occasions.
"As much as possible, the recipes in this book use ingredients we grow on our farm or otherwise source locally.
"This often means harvesting produce when it is at its peak, and using it while it is fresh."
They have put together a guide to a variety of practices — from lacto-fermenting, pickling, brewing kombucha, making mead and vinegar, baking sourdough and meat-curing through to koji mould-growing and preserving and drying.
"We experimented with each of these practices for many years, taking time to learn their subtleties."
They have spent the past year in their kitchen testing recipes with the goal that they will encourage people to try new flavours and combinations and experiment with techniques to make them their own.
Co-founder of Daily Bread, Orphans Kitchen, kingi and WithWild chef Tom Hishon says in the forward the impact of fermentation on food produce is "nothing short of remarkable".
"Consider the humble cabbage transformed into tangy sauerkraut or spicy kimchi. With every jar of pickles, loaf of sourdough bread or sip of kombucha, we partake in the fascinating history and legacy of fermentation."
Over the past decade the culinary industry has had a much-needed renaissance for fermentation, which has led to an exciting new wave and era of cooking and dish composition.
"With endlessly new possibilities, what at one point looked to be stagnant is now alive and flourishing."
The Book
Recipes extracted from The Abundant Kitchen by Niva & Yotam Kay, photography by Aaron McLean, published by Allen & Unwin NZ, RRP $49.99.
 Pickled vegetables Middle Eastern mix
The first pickle recipe we want to share is one that is absolutely delicious, easy to make and can be used to pickle any vegetable. This pickle uses a salt and vinegar brine mixed with a Middle Eastern-style spice mix. The result is a versatile pickle that can be dished out to add crunchy vegetables alongside a wide range of foods. We like to serve it with rice, lentils, meat and salad or as a snack when enjoying drinks with friends.
Makes 1.5–2 litres
Ingredients
2 medium or 3 small onions
¼ medium green cabbage
4 medium carrots
2 capsicums
1 small cauliflower
100g or a small bunch of green beans
6 cloves garlic
fennel, cucumber, capsicum, turnips and asparagus (optional)
5g ground allspice
5g chilli powder or 2–3 fresh chillies (use less if preferred)
5 bay leaves
Brine
20ml salt
500ml water
½ cup vinegar
10g ground turmeric or 30g fresh turmeric

Wash and cut the vegetables. Slice the onions into 1cm rings. They don’t need to be broken and can stay as compact rings throughout the pickling. Slice the cabbage into strips. Cut the carrots into thin rounds. Slice the capsicums into strips. Break the cauliflower into florets and slice the cauliflower stem. Remove the ends of the green beans and cut them in half. Slice the garlic cloves or leave whole. Mix the vegetables, allspice, chilli and bay leaves in a large bowl.
Stuff the vegetables and spice mix into a 2-litre jar or a few smaller jars if you prefer. The vegetables should be crammed in, leaving just enough room for the brine to get in between them.
For the brine, mix the salt, water, vinegar and turmeric in a bowl until well combined and the salt has completely dissolved. The brine doesn’t need to be heated. Pour the brine mixture over the vegetables. When pouring the brine, you might need to tilt the jar to different angles so that air bubbles can escape. Once full, add a weight and close the jar with a tight lid.
If you need to top up with more brine, add 1½ teaspoons of salt per cup of water and ¼ cup of vinegar.
Ready in 10 days. Store in the pantry for up to two months or for longer in the fridge.
 Herbed carrot sticks
Easy to make and popular with kids, carrot sticks are a great way to introduce fermented food to any meal.
Makes 500ml jar
Ingredients
about 15 small carrots
3-4 sprigs of thyme
Basic brine (see below), to cover
Method
Rinse the carrots to ensure no soil particles are left on the skins. If the skins are particularly rough or hard to clean, peel the carrots altogether. Cut the carrots into sticks and cut to the length needed to keep them below the brine line of your jar.
Line the jar wall with the sprigs of thyme. Hold your jar horizontally to make it easier to stack your carrot sticks. Add carrot sticks until the jar is packed tightly. Cover entirely with the basic brine and weigh down to keep the carrots submerged. Cover the jar with an airlock or slightly loose lid, and set it on a tray to catch any overflow. Keep the jar in sight in a cool location, and make sure to top up with fresh brine if the brine levels have dropped below the vegetable line.
Ready to start eating in 1–3 weeks. Keep in the fridge once you are happy with the level of acidity.
Basic brine
Makes 250 ml
Ingredients
5 g salt
1 cup (250 ml) water
Method
Add the salt to the water and stir until the salt has dissolved.
Brine is a solution of salt and water, and in many forms of fermentation and pickling it is the medium in which our ingredients are submerged. This basic brine is our most used brine. It has a ratio of 2% salt to water and is a great all-purpose solution.
Interestingly, salt is not strictly necessary for lacto-fermentation, which happens because of the activity of the lactic acid bacteria (LAB). These bacteria love anaerobic conditions and will show up to do their thing either way, with or without salt. As they do, the pH of the ferment will decrease, which will further protect it from harmful microorganisms.
But, since LAB are salt-tolerant, using a salt brine is an easy way to maintain their population while stopping harmful micro-organisms from colonising and contaminating our ferments. Salt has many other functions besides protecting the ferments. It is also used to draw out water from the vegetables to make up the brine in ferments such as sauerkraut, and to draw sugars from the vegetables to the brine, making it easier for LAB to feed on it. Finally, salt helps achieve crunchier ferments by hardening the pectin in the vegetables and reducing enzymic activity that promotes mushiness.
One to two teaspoons of salt per cup of water keeps our ferments safe and pleasantly salty. Use clean and unchlorinated water, or, if you are using chlorinated water, let it sit for a few hours before use. Look for non-iodised salt that doesn’t contain additives or anticaking agents, as they can inhibit the beneficial bacteria from flourishing. We use natural New Zealand sea salt in our ferments. Sea salt is more mineral-rich than table salt, which also improves the overall crunchiness of our ferments.
If you can provide ideal and controlled conditions or are planning a very quick fermentation, no or low salt might be feasible for you. We highly recommend using this simple safety measure to create the best results, improve your chance of success and minimise risks.
During the fermentation process, the brine soaks in all the different flavours in the jar, distributing them among all the vegetables in the jar. As a bonus, once you have finished eating, you can still use the brine for cooking, salad dressing or as a straight-up tonic.
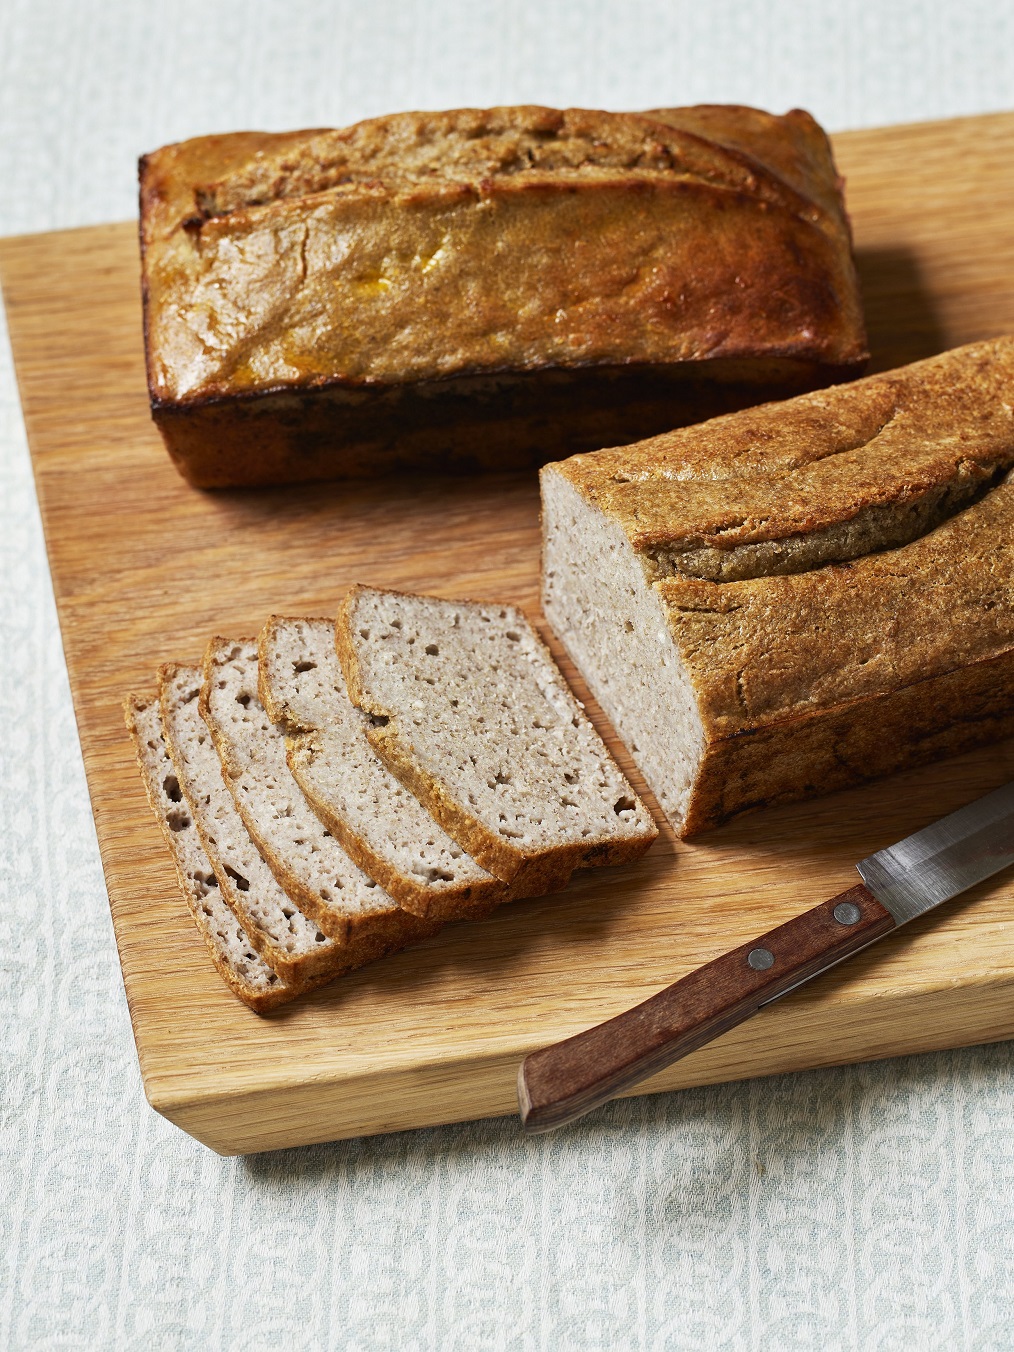 Fermented gluten-free buckwheat bread
Buckwheat lends itself really well to fermentation, and since our friend Sarah Lily taught us how to make bread from fermenting whole buckwheat groats, we never looked back.
This exciting recipe has replaced all other methods we have used to make gluten-free sourdough bread. We love it, not only for its mild sour taste and great texture, but also because we are using NZ-grown buckwheat, making this a local gluten-free bread. Buckwheat is a high-nutrient pseudocereal rich in proteins, flavonoids and phytosterols. It is a valuable source of rutin, which shows anti-inflammatory, anticancer, antiatherogenic and antioxidant activity. In addition to making an awesome gluten-free sourdough, researchers recommend enhancing wheat bread and other baked goods with buckwheat thanks to its increased shelf life, high-value nutrition and for having been shown to reduce blood glucose and insulin responses after its consumption when incorporated into white wheat bread. A cool thing about this recipe is that it doesn’t require a sourdough starter to raise the bread; instead, the yeast and bacteria come from the fermenting of the groats.
Makes 2 loaves
Ingredients
650g buckwheat groats
15g salt
Method
Place the groats in a 2 litre jar and fill up with enough water to cover the groats. Cover with a cloth or a loose lid and let the groats ferment for 2 days, mixing once a day. On the third day, drain the groats into a colander and rinse with water.
Place the drained buckwheat in a blender or food processor. Add the salt and blend for several minutes until a smooth and uniform batter is formed. Pour the thick batter back into the jar, and cover again with a cloth. Let the batter ferment at room temperature for another 24–36 hours. It will likely increase in volume by 10% to 20%, but don’t hold back from moving to the next stage if it doesn’t. Lightly oil two baking tins and pour the batter into them. Cover and leave for 4–6 hours or overnight. The bread may not rise during this time, but it will inside the oven, by 10% to 20%.
Preheat the oven to 190°C for 20–30 minutes. Lightly glaze the bread with beaten egg or oil if you like, place a lid over the tins, and place in the bottom third of the oven. Bake for 40–45 minutes, removing the lid after 20 minutes of baking.
Let the bread cool down for 30 minutes, and enjoy. Once cooled, store in an airtight container at room temperature for up to 4 days or in the fridge for up to a week.


