"In the autumn you’ll hardly get me out of [the kitchen]. Playing with apples, pears and beetroots; leeks; figs; blackberries; game meats ... and best of all, pumpkins and squashes. They are the true sign autumn has landed, signalling a return to roasting and mashings and gratins and braises.

Her latest book Seasoning is about getting people out of the culinary ruts of how they cook — or don’t.
Taking time to think about why eating seasonally matters so much has made Clutton realise how important particular times of the year are in connecting food and memory.
"I really want to feel the excitement of the first summertime tomatoes and strawberries. There’s even a point to the boredom of winter’s roots by the end of the season. I want food that fills me with anticipation, surprise, nostalgia, tedium — because that is life."
Her book is structured into seasons giving an idea of what is in season, profiles of the seasons’ vegetables and fruits, way to use them and flavours that partner with them.
THE BOOK
Images and text from Seasoning by Angela Clutton, photography by Patricia Niven, illustrations by Georgina Luck. Murdoch Books RRP $59.99.
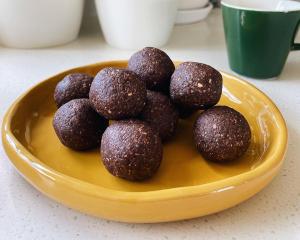
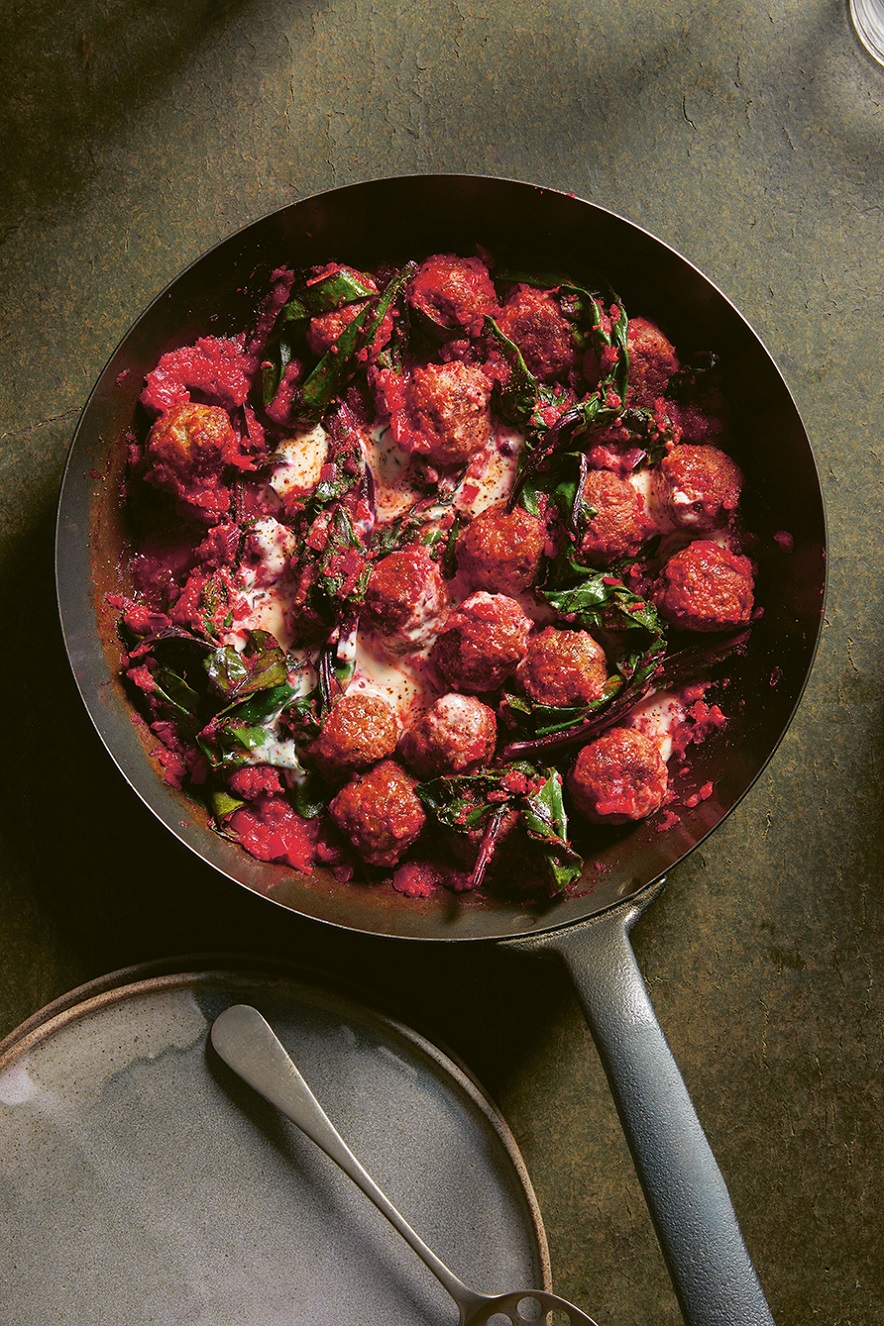 Baked za’atar meatballs with tomato sauce and beetroot tips
This is not just a terrific dinner, but shows off just how beetroot stalks and leaves are delicious and useful in their own right, too. This dish would certainly be nice enough without the beetroot stalks cooked into the base of the dish, or indeed the beetroot leaves added for the finish — but not nearly so good as with them.
Serves 4 as a main
Serve with plenty of couscous, stirred through with lots of chopped herbs, salt and a squeeze of lemon.
For the sauce
2 red onions
3 Tbsp olive oil
4 garlic cloves
Stalks and leaves from 6 beetroots
5 anchovy fillets, drained of oil
1 x 400g tin chopped tomatoes
2 Tbsp grated fresh horseradish
2 Tbsp creme fraiche
Salt and black pepper
For the meatballs
1 red onion
2 garlic cloves
400g minced beef or lamb
1 Tbsp za’atar
80g breadcrumbs
1 egg
2 tbsp olive oil
Salt and black pepper
Method
Make the sauce first. Peel and chop the onions. Heat the olive oil in a large deep frying pan and cook the onions over a gentle heat until starting to tenderise and taking on a little colour. Peel and finely chop the garlic cloves, and add those too.
While they are cooking, separate the beetroot leaves from the stalks. Sit the leaves in very cold water to keep them perky. Finely chop the stalks, and add to the frying pan. Let them cook down for 5 minutes, stirring, then add the anchovies and chopped tomatoes. Rinse out the tomato tin with water and add that to the pan too. Season.
Simmer for 20 minutes. Set aside while you make the meatballs.
For the meatballs, preheat the oven to 210°C fan bake.
Peel and grate the onion and garlic into a bowl, add the minced meat, za’atar and breadcrumbs, and season well. Beat the egg and add, then use your hands to bring the mixture together. Divide into 20 equal pieces, rolling them into balls as you go. Sit the meatballs on a baking tray, drizzle over the oil and bake in the oven for 15 minutes.
For the last 5 minutes of the meatballs’ baking time, put the sauce back on the heat and stir in the horseradish. Lift the beetroot leaves out of the water and sit on kitchen paper to dry, then just before the meatballs are ready, stir the creme fraiche and beetroot leaves through the sauce. Remove the meatballs from the oven and sit them on top of the sauce. Pour over any oil left behind in the baking tray, grind over plenty of black pepper and serve straight away.
Waste tips
Anchovies: The oil accompanying preserved anchovies is fabulously flavourful. It may not be the best quality oil, but it is too good to waste. Whenever you reach the end of a jar or tin of anchovies, use the oil in the beginning of whatever you cook next that will benefit from a layer of anchovy flavour (that will be pretty much anything savoury). Make anchovy butter with any last ones in a jar/tin — simply crush them into soft butter. Roll, wrap, and fridge/freeze.
Horseradish: I use fresh horseradish a lot, and always seem to end up grating off more of the root than I need for a recipe. The happy outcome of that is stirring it through whatever creme fraiche or full-fat Greek yoghurt I might also have around, giving it a good squeeze of lemon and lots of black pepper, then keeping that in the fridge for a ready-made horseradish sauce. Note also horseradish — like fresh root ginger — will keep brilliantly in the freezer to grate straight from there without any bother to peel first.
Vegetables for stocks:
- Keep in the freezer a bag or container into which you can easily put the (washed if necessary) peelings and trimmings of vegetables or herbs to use as the basis of making stocks. As the seasons roll round what you add to the freezer bag will change, giving the stocks a natural seasonality of flavour.
- Put the trimmings straight from the freezer into a large pan, cover with an equal volume of water, add salt and whatever fresh herbs might be around. (Add poultry bones for a meat stock.) Simmer for about an hour, strain, and that’s your stock ready to use/freeze.
Good things to use: Asparagus ends; broad (fava) bean pods; carrot peelings; cavolo nero ribs; celeriac peelings; celery trimmings; cucumber peel, seeds and core; fennel trimmings; garden pea pods; soft herb leaves and stems (e.g., basil, coriander, mint, oregano, parsley); leek trimmings; onion skins; parsnip peelings; pumpkin and other squash fibres/skin (not flesh); shallot skins; spring onion (scallion) trimmings; sweet pepper (capsicum) trimmings; tomato skins, seeds and vines; woody herb leaves and stems (e.g. rosemary, thyme).
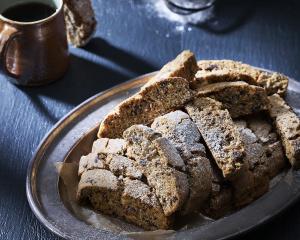
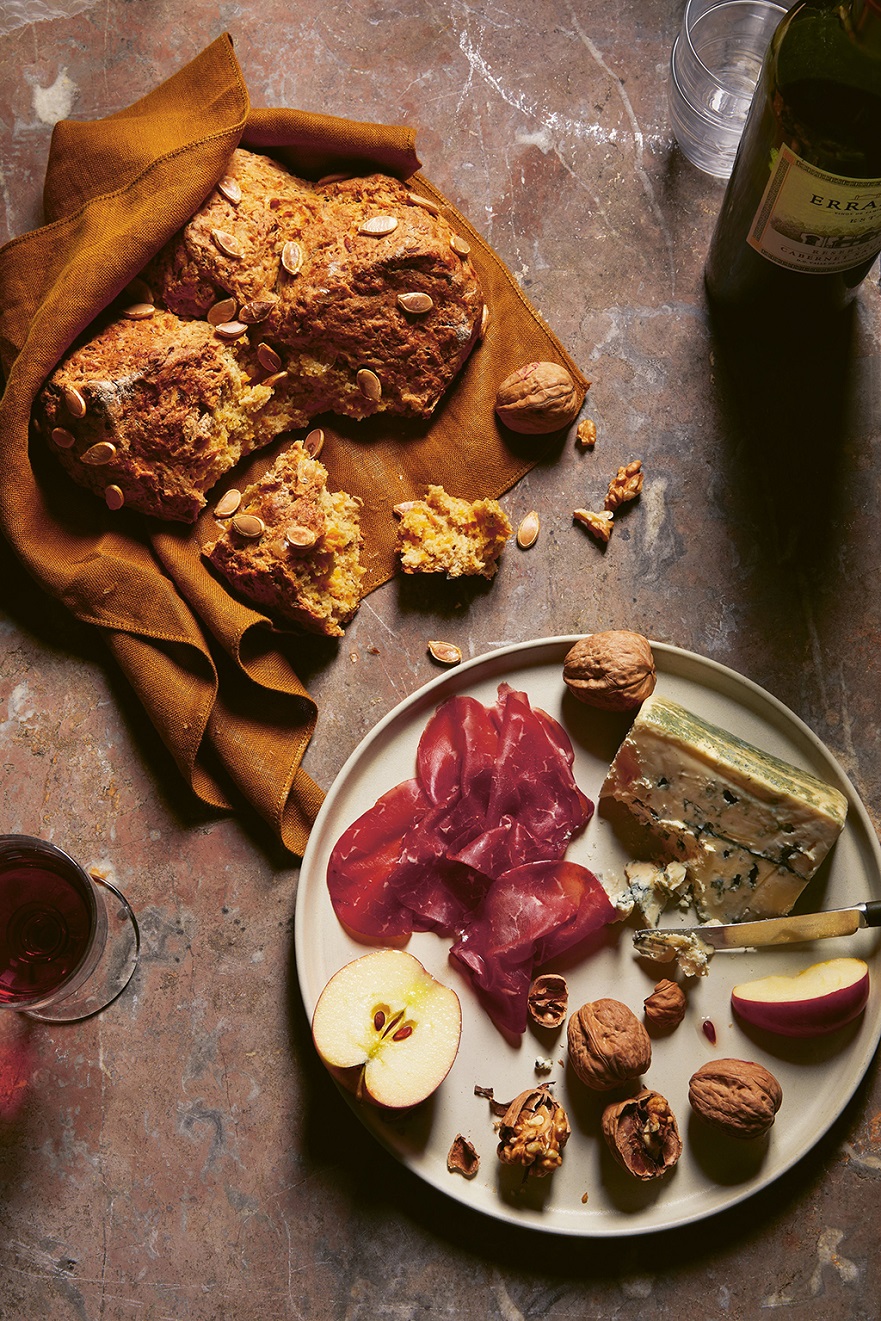 Pumpkin soda bread with rosemary and caraway
This is a dense, savoury bread — earthy and sweet from the pumpkin, with rosemary and caraway enhancing those attributes. Such a good way to use up a leftover chunk of pumpkin or squash, or make this the reason you buy one.
Excellent with cheese (especially blue cheese), ham, butter, slices of apple . . . I’m thinking an autumn picnic.
Makes 1 loaf
150g pumpkin or squash, peeled and de-seeded (prepared weight)
250g wholemeal plain (all-purpose) flour
175g plain (all-purpose) flour
1 tsp fine salt
1 tsp bicarbonate of soda (baking soda)
1 tsp baking powder
¼ tsp ground black pepper
1½ tbsp finely chopped rosemary leaves
1 tbsp caraway seeds
200-250ml buttermilk
1 tsp rapeseed oil
Method
Preheat the oven to 175°C fan.
Grate the pumpkin flesh into a bowl. Set aside, keeping the pumpkin seeds for later.
Combine all the dry ingredients in a large mixing bowl. Mix together, then add the grated pumpkin, using a fork to work it all in. Add the buttermilk in stages, working it into the mix to achieve a soft but not sticky dough. You may not need all the buttermilk. Don’t knead, just bring it together into a round dome or more of an oval.
Brush a baking tray or large casserole with the oil. Sit the dough in. If it’s a round shape, score a deep cross in the top; for more of an oval, just make 3 slashes across.
Clean a tablespoon of pumpkin seeds, removing the stringy fibres. Brush a little of the remaining buttermilk over the top of the loaf and scatter the seeds over.
Bake for 40-50 minutes until golden and risen. The base should sound hollow when you tap it and a skewer inserted come out clean. Cool the loaf on a wire rack for 30 minutes before cutting into it. Note that this bread is not really a keeper — best eaten the same day or the next.
Waste tips
Pumpkins and other squash: Any excess roasted pumpkin can be turned into a puree, used as a filling for filo tarts, or blitzed into a soup.
Pumpkin seeds (pepitas): Scoop out and give a wash to remove the stringy fibres. Toss with olive oil and salt, transfer to a foil-lined baking tray and roast for 15 minutes or so at 150°C fan. When they are ready, they will pop. So good for topping soups or salads, granola, flapjacks, or just to munch on. You could add flavour, such as soy sauce or orange, before roasting. Alternatively, toast the seeds in a dry frying pan with some honey or maple syrup and salt, and leave to cool before snacking on.
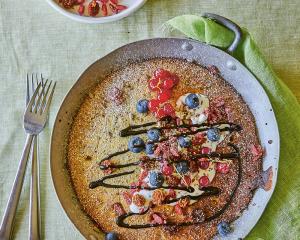
 Fig, chocolate and pecan frangipane tart
Frangipane is more usually made with almonds, but switching for pecans gives a gorgeously warming, toffee-esque flavour and texture that is perfect with the chocolate and figs. This tart is dense and rich. Fabulously so. All you’ll need with it is a spoonful of lush cream, yoghurt or vanilla ice cream.
Serves 8-10
For the pastry
270g plain (all-purpose) flour, plus extra for dusting
Pinch of salt
1 orange
150g cold butter
For the frangipane
200g pecans
85g dark chocolate, minimum
70% cocoa solids
3 star anise
200g butter, at room temperature
100g golden caster (superfine) sugar
100g soft light brown sugar
2 eggs
25g plain (all-purpose) flour
½ tsp baking powder
Pinch of salt
About 200g ripe figs
Icing (confectioners’) sugar, for dusting
22-23cm loose-bottomed tart tin
Method
First, make the pastry. Sift the flour with the salt into a mixing bowl. Grate in the zest of the orange. Dice the butter, add to the bowl and mix into the flour with your fingertips until it looks like breadcrumbs. Add cold water to help it come together, but as little as you can get away with to form a smooth dough — start with just a couple of teaspoons. Shape into a disc, wrap and chill for 1 hour.
Use that time to make the frangipane. Finely grind the pecans using a pestle and mortar or grinder, and set aside. Break the chocolate into a heatproof bowl suspended over a pan of simmering water (make sure the bowl isn’t touching the water). Add the star anise. Once the chocolate has melted, take the bowl off the pan so it can cool and the star anise can subtly infuse its flavour into the chocolate.
Meanwhile, use a wooden spoon to cream together the butter and sugars in a large mixing bowl until light in colour and texture. Add the eggs, one at a time, incorporating well after each addition. Mix in the flour, baking powder and salt. Add the melted chocolate (discard the star anise) and lastly the ground pecans. Mix together and set aside.
Lightly dust the work surface with flour and roll the pastry until generously large enough to fit the tart tin. Ease the pastry over your rolling pin and carefully lift over the tin, gently pressing it in. Let it overhang the tin, as the pastry will shrink as it cooks. Prick the base a few times with a fork and chill for 30 minutes.
Preheat the oven to 170°C fan, with a large baking sheet inside.
Sit the tart case on the hot baking sheet, line with a large piece of baking paper and fill with baking beans or rice. Bake for 15 minutes, then remove the paper and beans and return to the oven for another 5 minutes. Take out of the oven and sit on a wire rack to cool, then trim the pastry before filling with the chocolate frangipane.
Spread it over evenly. Cut each fig into slices or wedges, as you prefer, and arrange on top of the frangipane, gently pressing the figs in a little.
Turn the oven down to 160°C fan and bake the tart for about 40 minutes until the surface is just about firm to the touch. Start checking at 30 minutes. If the pastry or topping is getting too dark, loosely cover with foil. Remove from the oven and cool for at least 15 minutes on a wire rack before releasing the tart from its tin.
Dust with icing sugar and serve at room temperature, or while the warmth of the oven’s breath is still upon it.
Waste tips
Citrus (bergamot; lemon; lime; orange): Once you have zested away the fruit’s protective outer layer it will start to dry out. Juice it soon, and if you have no immediate use for the juice you can freeze it. Ice-cube trays are good for these relatively small amounts. Freeze slices of citrus fruits to use in drinks.